Short version: course clips work best when each segment has a clear goal and enough context for students to understand the lesson without giving away the full course.
This page is focused on broad course creator workflows across launches, lesson libraries, cohort programs, and student support. For Whop-specific onboarding and community clips, see Whop creator clips. For webinar repurposing, see private webinar clip generator. For interview-style lessons, see interview clip generator. For the core product overview, see local AI video clipper and unlimited AI clipper.
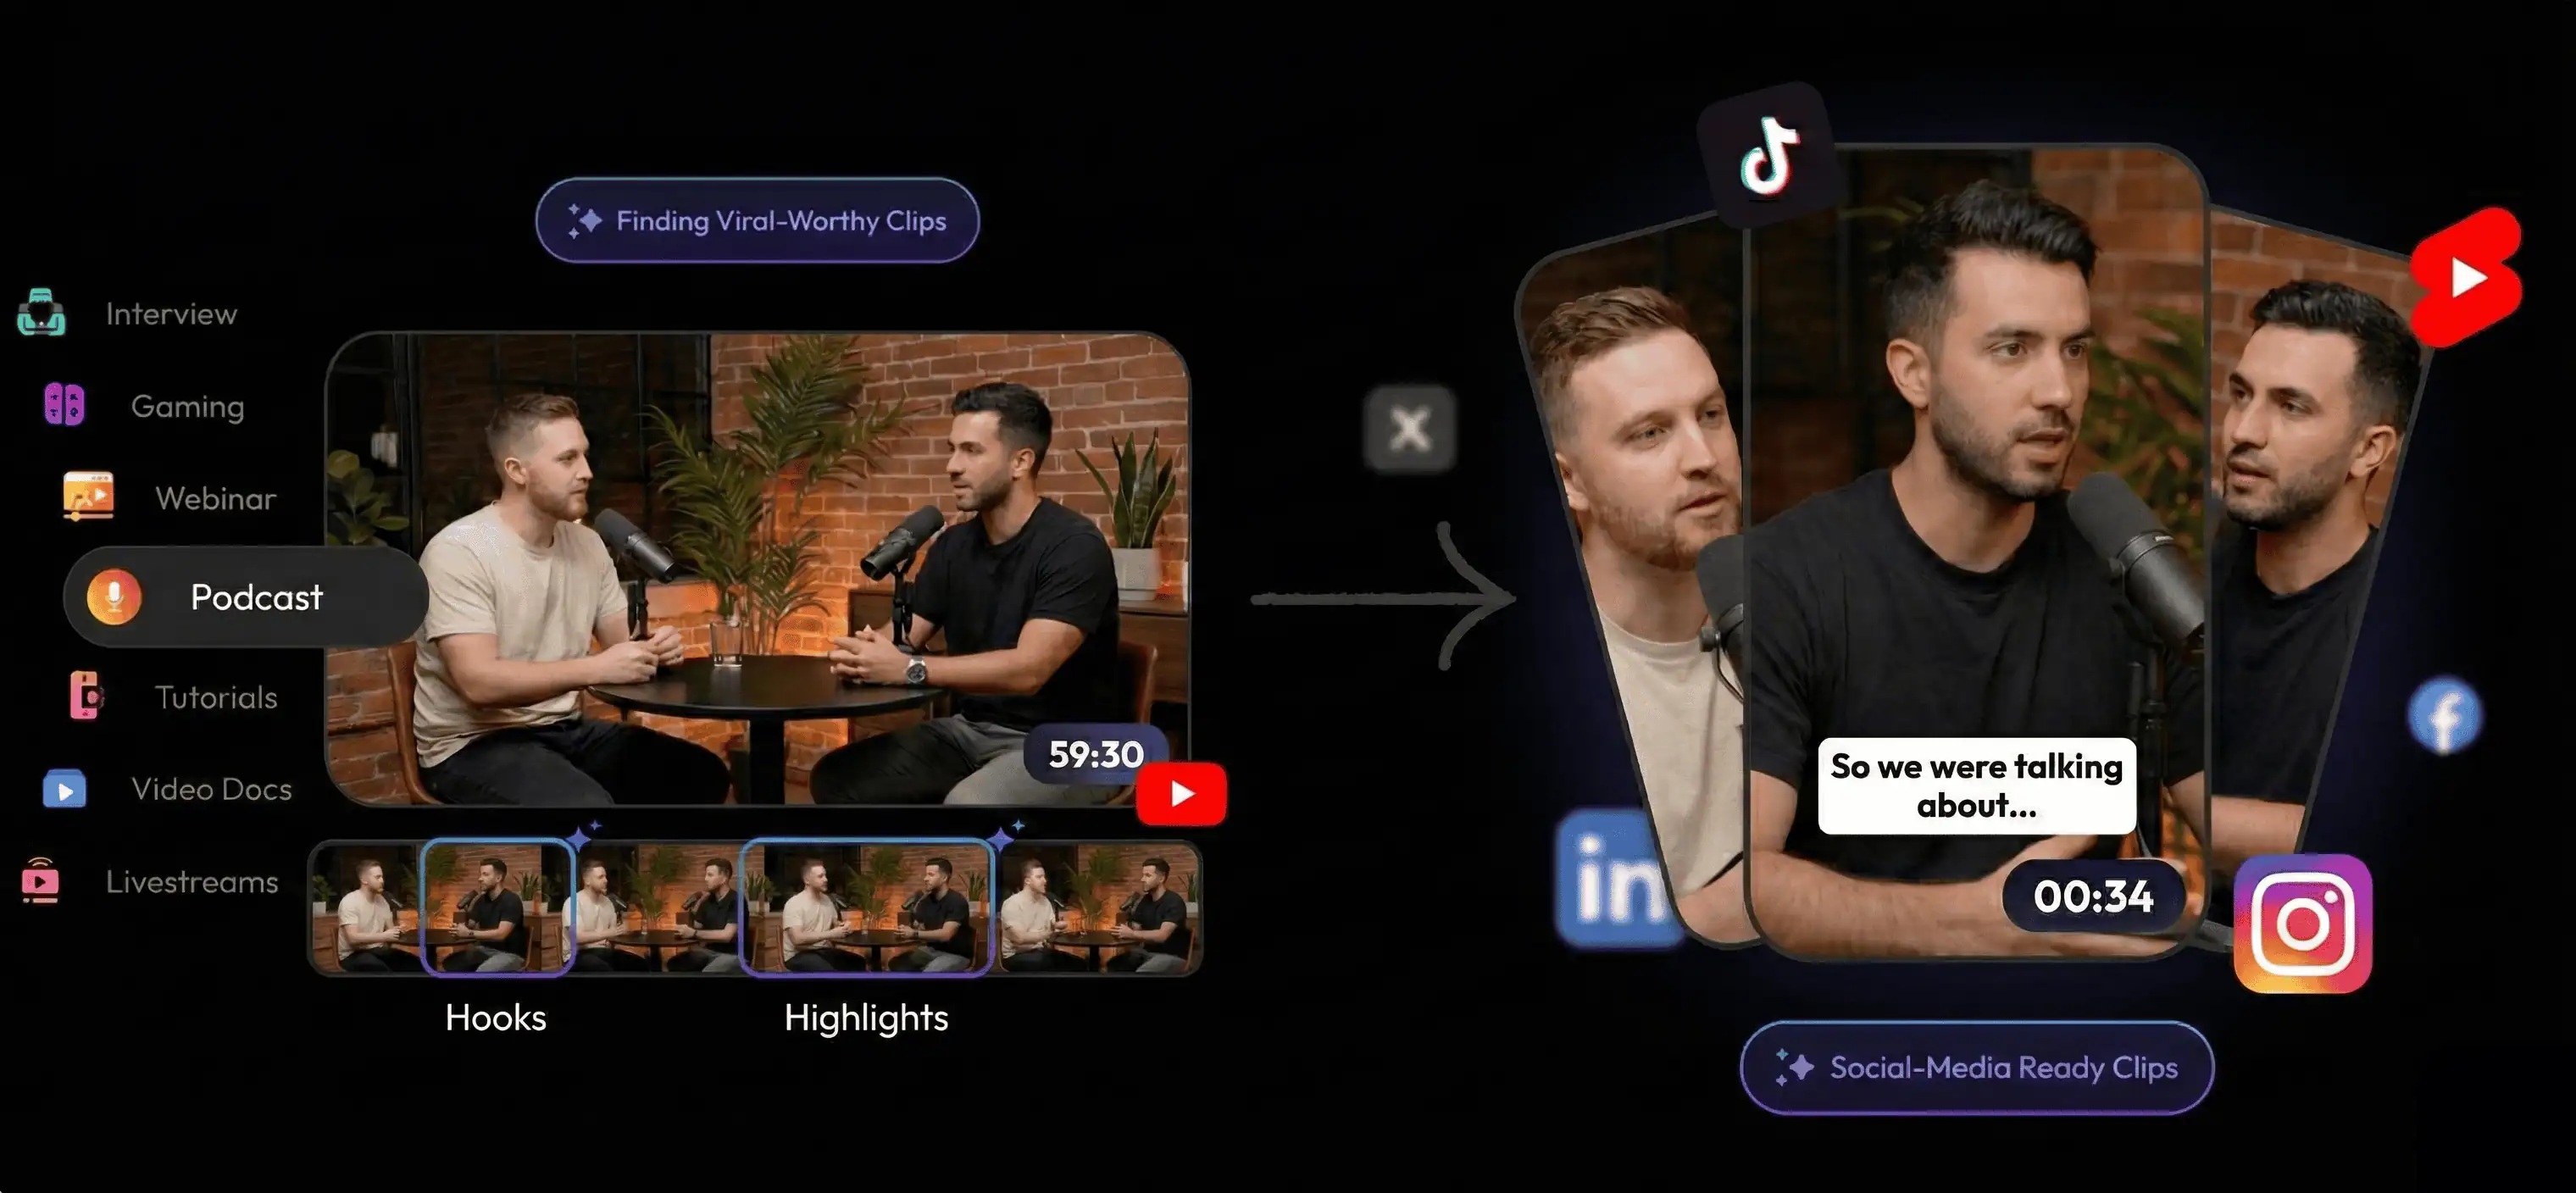
What We Tested
I tested a 72 minute course lesson with screen share and facecam plus a 24 minute Q&A segment on an M2 Mac. Starting from AI suggestions, I clipped 8 highlights in about 13 minutes.
- Clip naming:
Course-Module-Topic-Time(example:Launch-03-Offer-18m32s). - Handles: 3 to 5 seconds of lead-in and lead-out for context.
- Exports: 1080p review clips with captions for quick skim.
Course Moments That Clip Well
Quick win demos
Short before and after results that show the value without giving away the full lesson.
Framework summaries
Recap the 3 to 5 step framework that anchors the lesson and invite learners to go deeper.
Common mistakes
Clip the moment you fix a misconception or show a faster way to do a task.
Launch FAQ moments
Pull short answers that help new students decide whether the course is the right fit.
Lesson-to-Clip Workflow on Mac
Reelify keeps the workflow local so you can repurpose lessons into promos, lesson previews, and support clips without upload delays.
- Import the lesson. Start with your recorded module file and keep a consistent naming pattern.
- Review AI picks. Scan the top moments and confirm the lesson context.
- Trim with handles. Keep 3 to 5 seconds on each side so the clip stands alone.
- Add captions and crop. Make promos readable in vertical or square formats.
- Export the clip pack. Save a small set of clips for launches, lesson previews, and student support.
Clip naming that stays organized: use a short pattern like
Course-Module-Topic-Time so you can sort clips by lesson or platform.
My Course Launch Clip Pack Template
Keep the pack small enough to publish without giving away full lessons.
- 2 promo clips (quick win or outcome proof).
- 2 lesson previews (framework step or lesson promise).
- 1 objection-handling clip (FAQ, misconception, or expectation setting).
Manual Editing vs Local Course Clipping
A simple, repeatable clip pack helps you publish consistently across launches, evergreen funnels, and cohort resets.
| Decision factor | Manual editing | Reelify local workflow |
|---|---|---|
| Time to first promo clip | After full lesson review | Start from AI picks |
| Clip consistency | Varies per module | Repeatable clip pack |
| Paid content safety | Easy to overshare | Focused, short excerpts |
| Formats | Manual resize per platform | Vertical or square outputs |
| Workflow cost | Hours or per-minute fees | Local processing |
Constraints to Plan For
- AI suggestions are a starting point, not a replacement for review.
- Do not share full walkthrough steps in promo clips if the lesson is paid.
- Very long modules may clip faster if you split them into smaller parts first.
FAQ
Will this work with any course recording?
Yes. Reelify works with any lesson file you can save locally. Import the lesson on Mac and clip from there.
Can I create vertical clips for promos?
Yes. You can export vertical clips with captions for Shorts, TikTok, and Reels.
How do I avoid leaking paid content?
Use short teaser clips, remove full walkthrough steps, and keep promotional clips focused on outcomes or quick wins.
Is this a replacement for a course editor?
No. Reelify focuses on clipping and export. Use it alongside your course editor or platform tools.
Best next step: clip 6 to 8 highlights from one lesson, export a small clip pack, and test how quickly you can publish promos for your next cohort.